14:31 Preparing Your Woodpile for Winter: Seasonal Checklist | |
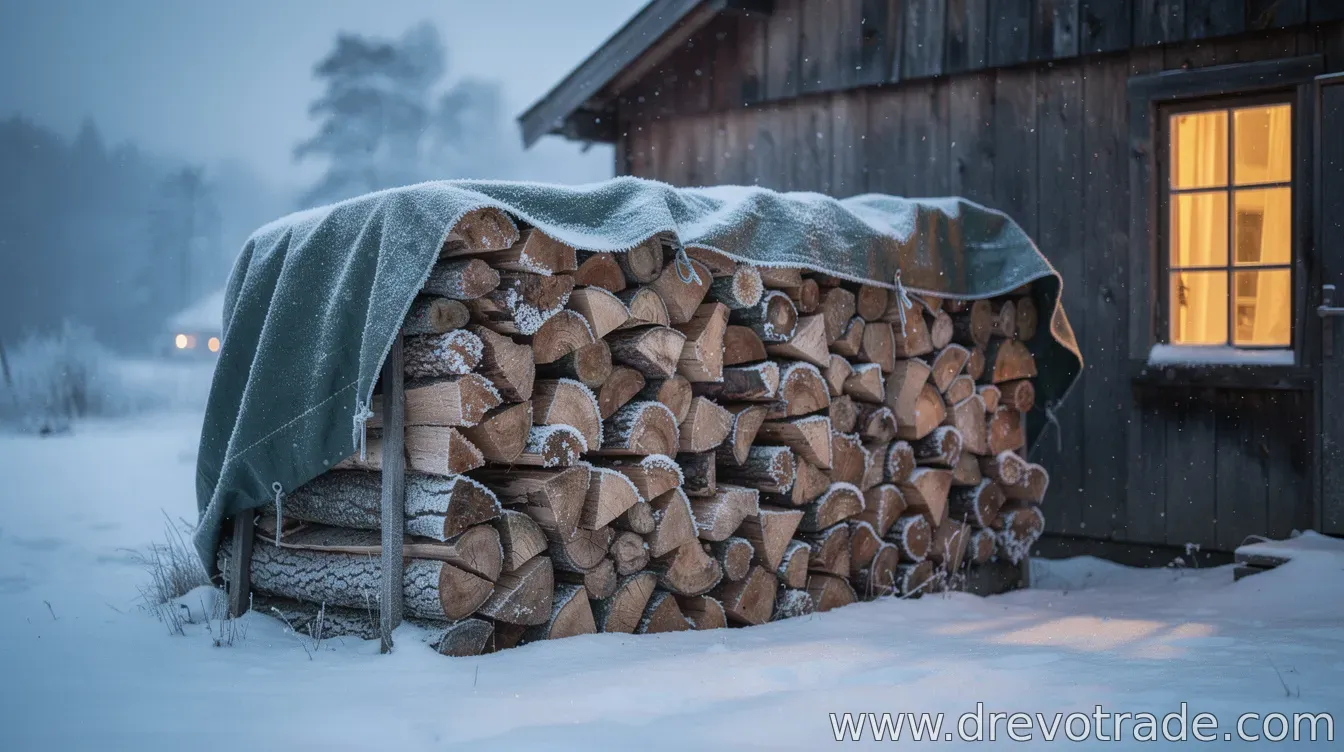 As winter approaches, a few targeted steps can make your firewood easier to light, more efficient to burn, and less prone to deterioration from moisture and temperature swings. Whether you’re topping off a seasoned supply or organizing a newly split stash, this checklist will help you get your woodpile ready for steady cold-weather use. 1) Do a quick moisture checkBefore winter weather locks in, measure (or estimate) how dry your wood is. Firewood that’s still too wet burns poorly, produces more smoke, and wastes energy. If you use a moisture meter, aim for well-seasoned wood (often around the mid-teens to low 20% moisture range, depending on species and measurement method). If you don’t have a meter, look for cues like smaller cracks in the end grain and lighter weight for the same size compared with fresh-split logs. 2) Confirm you have enough dry stock at handDon’t leave everything to be “ready later.” Move your driest, best-splitting wood into the zone you’ll use first—close to the house or your indoor stove/ fireplace staging area. Keep the most moisture-prone pieces farther back or under more coverage, so your daily burn stays consistent. 3) Stack for airflow first, not for looksGood stacking prevents trapped dampness. Keep logs elevated off the ground using pallets, rails, or dry timbers, and maintain spacing between stacks. Avoid placing wood directly against exterior walls where it can pull moisture. Aim for a stable, neat stack that still allows air to circulate through and around the pieces. 4) Cover correctly: shield from rain, leave breathabilityCover the top of the woodpile to keep rain and snowmelt off, but avoid sealing the sides completely. “Breathable” protection reduces the chance that moisture becomes trapped inside the cover. If you use a tarp, drape it so water sheds off the edges, and keep airflow along the sides whenever possible. 5) Plan for temperature and storm impactsBefore major cold snaps and wind-driven rain, inspect your covering and stack stability. High winds can loosen tarps and expose fresh logs. Re-secure or re-drape the cover, and clear any debris that might hold water in the base area. After storms, check for soaked sections and rotate wood so the driest pieces remain accessible. 6) Reduce risks: safety and pest preventionA woodpile is also a storage area that benefits from basic safety habits. Keep stacking away from pathways, and ensure it doesn’t obstruct access to doors or fire equipment. Watch for signs of insect activity and avoid stacking directly on bare soil where dampness lingers. If you notice heavy infestations or unusual damage, isolate affected sections and address the underlying storage conditions. 7) Stage your winter burn zoneIn the weeks before you fully rely on burning, create a “daily access” area. Move a manageable quantity—enough for several days to a couple of weeks depending on your usage—into a covered, near-use location. This helps you minimize how often you open up the main stack to bring in fuel, reducing exposure and time spent handling wet pieces. With a moisture check, airflow-focused stacking, proper top coverage, and a staged winter burn area, your woodpile will be more efficient and dependable when the weather turns. Do the checklist now, and winter won’t be the first time you discover which logs need more time. | |
|
| |
| Total comments: 0 | |